
Email Settings:
- In the Zoomifier, the Email Settings offers a configuration for User-Based Email settings, where emails are sent from the Sales User’s email account rather than the Zoomifier default email account if configured in Zoomifier Settings for the tenant.
- Before configuring email settings, enable 2-Step Verification in your Gmail account and generate an App password.
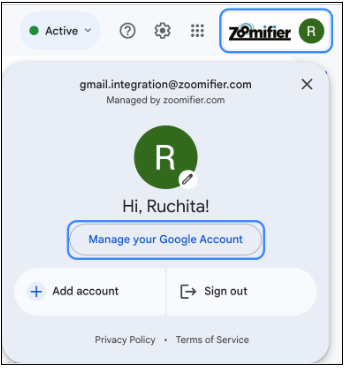
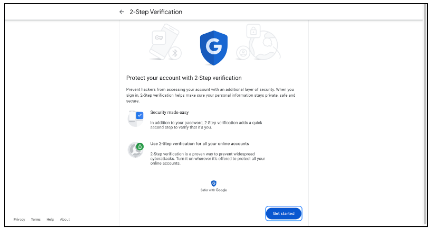
- 1. Open your Google Account.
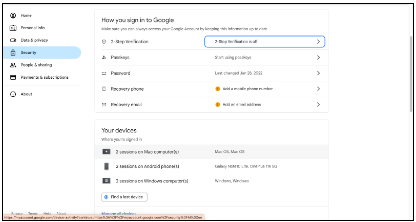
- 2. In the navigation panel, select Security.
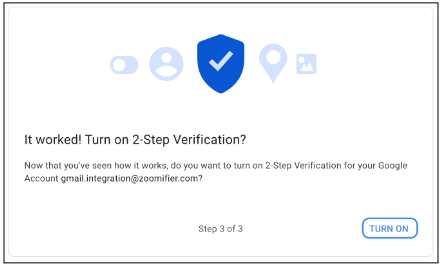
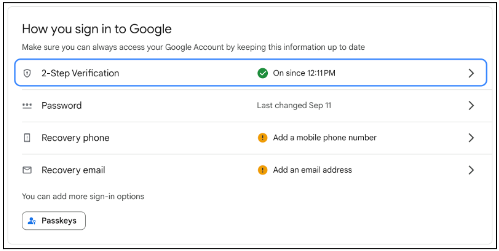
- 3. Under “Signing in to Google,” choose 2-Step Verification and click Get Started.
- 4. Enter your phone number and follow the instructions mentioned on the screen.
- 1. Go to your Google Account.
- 2. Select Security.
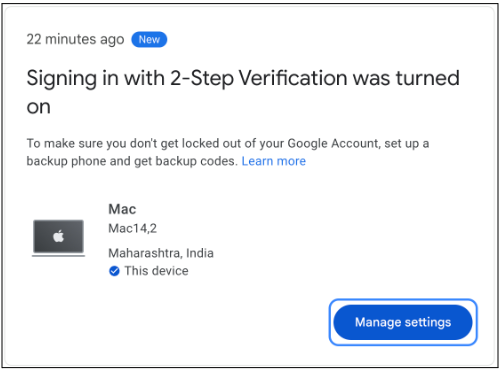
- 3. Go to the two-step verification and select manage settings.
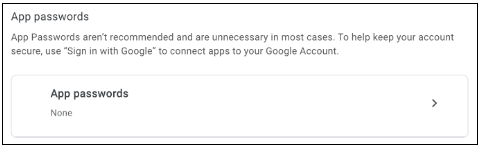
- 4. Scroll to the bottom and select App Passwords.
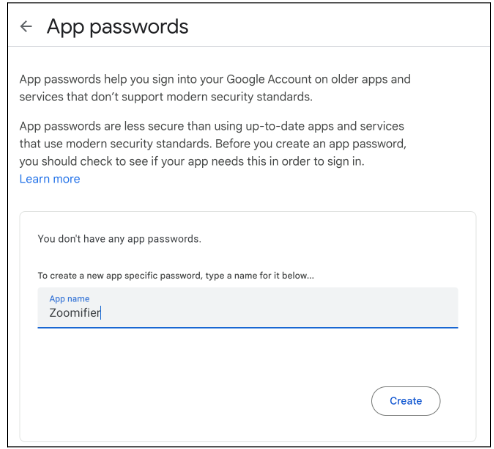
- 5. Type the name of the app and click on Create.
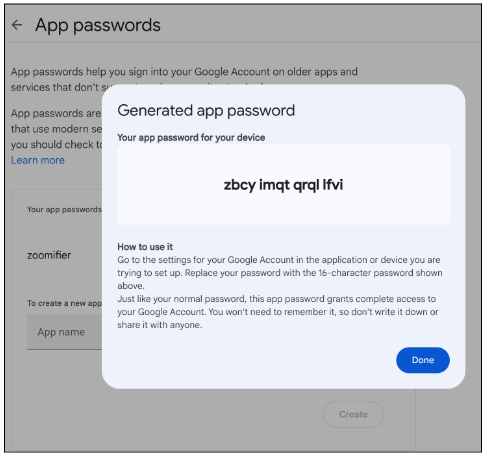
- 6. Note down the 16-character App Password displayed.
- 7. Tap Done.
- 1. Open app.zoomifier.com.
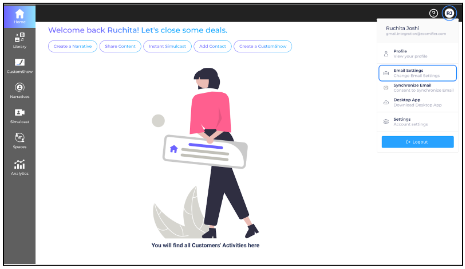
- 2. Under the profile icon click on Email Settings.
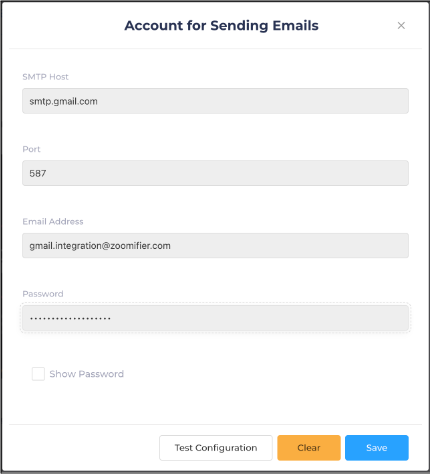
- 3.SMTP Host: smtp.gmail.com
- 4.Port: 587
- 5.Email Address: [Users Gmail Account from which email should be sent]
- 6.Password: [Enter your Google App Password generated in the previous step]
Using App Passwords for Gmail:
Step-by-Step Configuration:
Step A) Allow 2-Step Verification:
Step B) Create & Use App Passwords:
Step C) Configure Custom Email in Zoomifier: