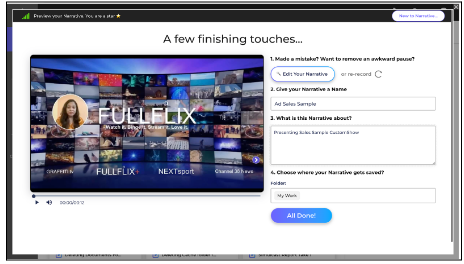
- Once you stop recording Narrative, you are directed to the Studio Screen.
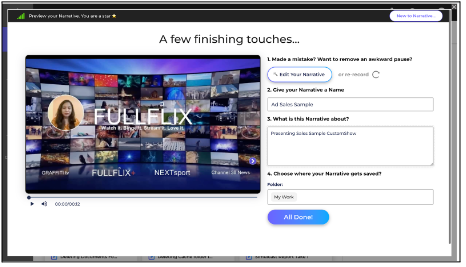
- You can preview the recorded Narrative here.
- Click on Edit Your Narrative to edit the recorded video.
- The Video Editor will open in pop up.
- To trim the video, simply drag and drop the yellow handles to where you want the video to begin and end.
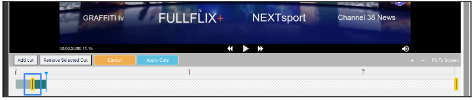
- To add a cut, move the playhead to the beginning of the cut, and click “Add cut”.

- You can adjust the blue highlighted region, to the part of the video you want cut out.
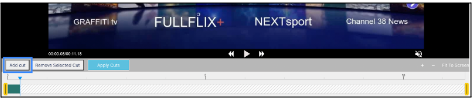
- You can preview the video at any time, to see how it will look with this cut.
- You can add multiple cuts and you can remove cuts too by selecting the cut and click on “Remove cut”.
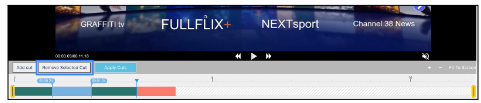
- Once you are done editing your video, click Apply cuts.

- Once you are done editing your video, click Apply cuts.
